

rTorrent - is a text-based BitTorrent client using its own libTorrent library. It's written in C++, and the user interface uses the ncurses library. It's safe to say this is one of the best torrent clients regardless of architecture, due to its low resource usage as well as an efficient file downloading mechanism. Thanks to its text interface, it can be used with programs like screen and dtach in order to suspend the session and log out of the system. Ready-made packages are available for various Linux distributions, so installation is dead simple. Many graphical front-ends have been created for rTorrent, using the xml-rpc protocol to control our client. We can divide them into applications written in Java, requiring only a JRE, for example:
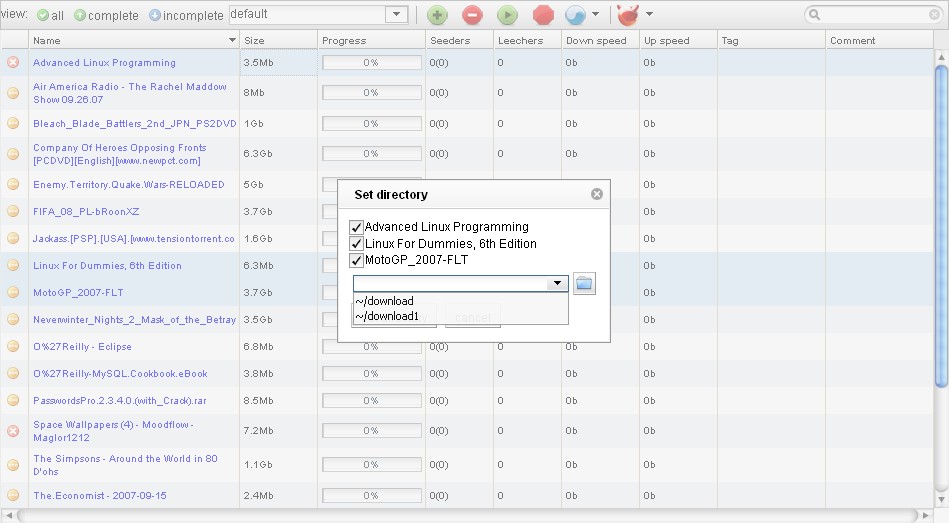
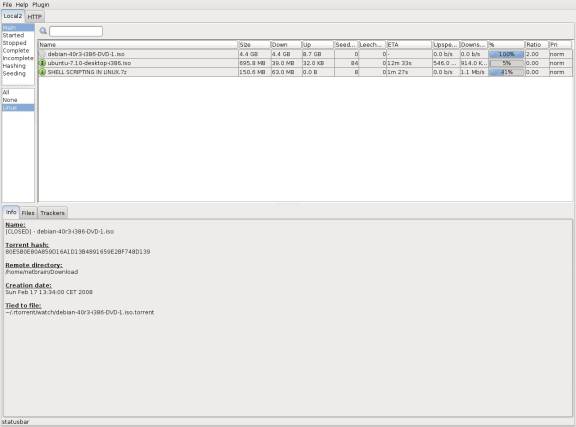
and applications written in AJAX/PHP requiring a web server, e.g:
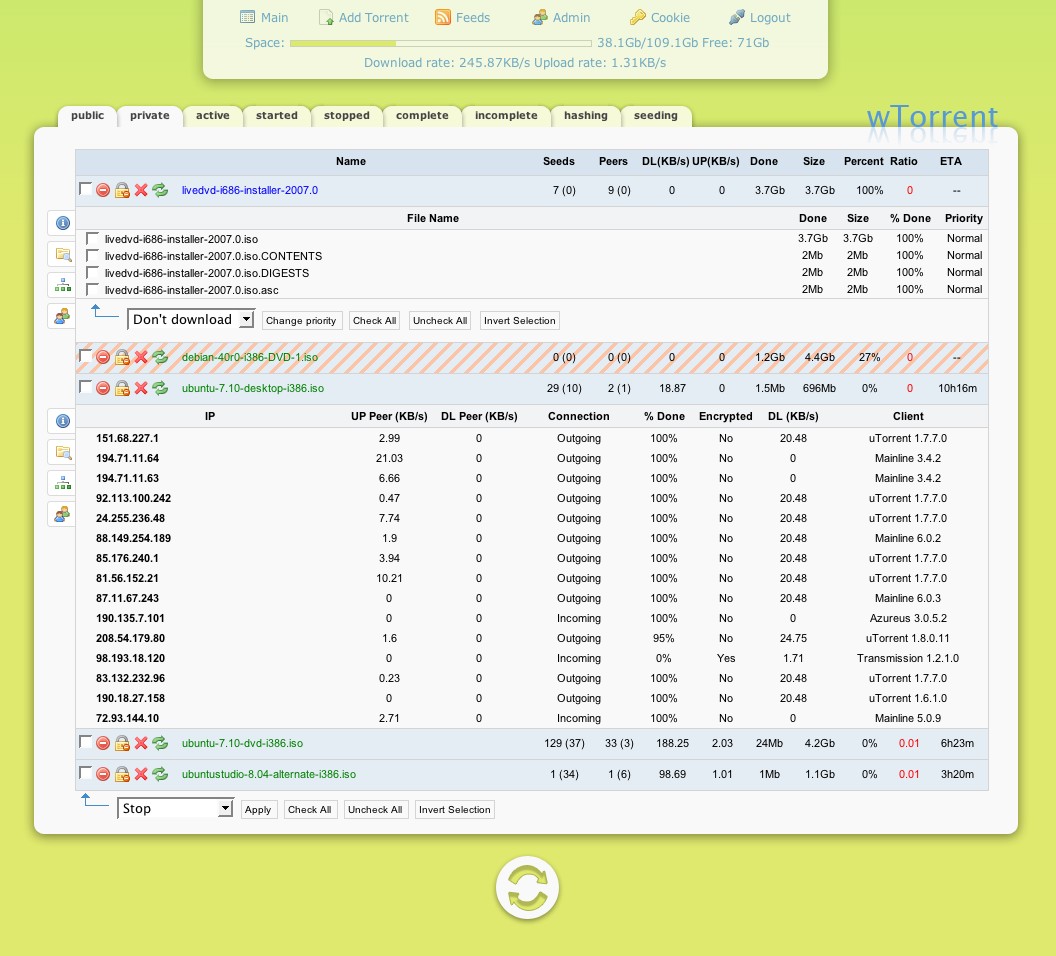
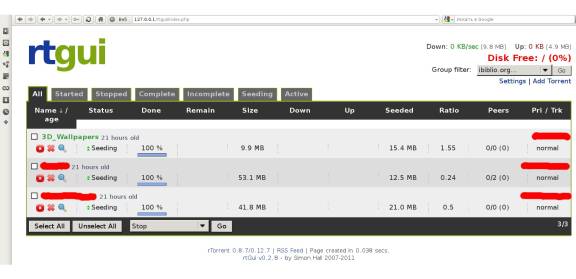
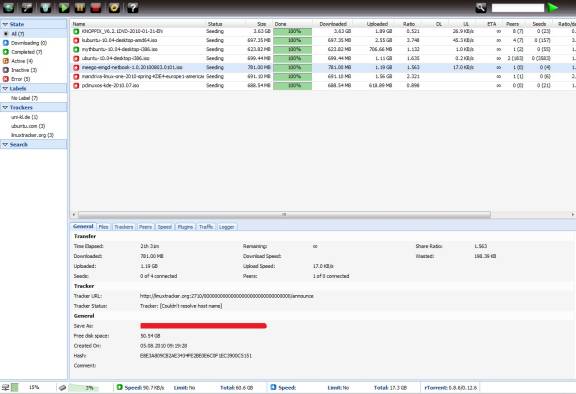
In my opinion, the best of them is, paradoxically, the last one. It runs fast and stably, has all the features we'd expect from this type of program, and, subjectively, it's probably the nicest looking too. The description below was made using Debian 6 as an example, which involves the need to compile several packages. The reason for this is the strict policy of Debian's creators regarding releasing stable packages. A good example is nginx version 0.7.67, which still lacks SCGI support, which is essential for us. The configuration of rTorrent itself will be marginalized; the main focus will be on configuring a GUI for it.
Preliminary steps
- first we update our repositories: aptitude update
- We download the packages we need from the Debian repositories: aptitude install libpcre3-dev subversion build-essential automake libtool libcppunit-dev libcurl4-dev libsigc++-2.0-dev checkinstall pkg-config libcurl4-openssl-dev libncurses5-dev
- we download libTorrent: wget http://libtorrent.rakshasa.no/downloads/libtorrent-0.12.6.tar.gz
- we download rTorrent: wget http://libtorrent.rakshasa.no/downloads/rtorrent-0.8.6.tar.gz
- we download XMLRPC-C: svn co http://xmlrpc-c.svn.sourceforge.net/svnroot/xmlrpc-c/stable xmlrpc-c
- we download nginx: wget http://nginx.org/download/nginx-1.0.4.tar.gz
- we download rutorrent: wget http://rutorrent.googlecode.com/files/rutorrent-3.2.tar.gz
- we unpack the archives: tar zxvf libtorrent-0.12.6.tar.gz, tar zxvf rtorrent-0.8.6.tar.gz, tar zxvf rutorrent-3.2.tar.gz
Compilation
Compiling and then installing applications from source can cause a bit of a mess in the system due to the difficulty of uninstalling them later. It's good practice to create your own packages, e.g. with Checkinstall, which can later be easily removed.
- XMLRPC-C:
./configure
make
checkinstall
dpkg -i xmlrpc_c-1_i386.deb
cd libtorrent-0.12.6
./configure
make
checkinstall
dpkg -i libtorrent_0.12.6-1_i386.deb ##installing the ready-made package (Debian/Ubuntu)
./configure --with-xmlrpc-c
make
checkinstall
dpkg -i rtorrent_0.8.6-1_i386.deb
/configure --prefix=/usr --sbin-path=/usr/sbin/nginx --conf-path=/etc/nginx/nginx.conf \
--pid-path=/var/run/nginx.pid --lock-path=/var/lock/nginx.lock \
--user=www-data --group=www-data \
--http-log-path=/var/log/nginx/access.log --error-log-path=/var/log/nginx/error.log \
--http-client-body-temp-path=/var/lib/nginx/body \
--http-proxy-temp-path=/var/lib/nginx/proxy \
--http-fastcgi-temp-path=/var/lib/nginx/proxy --http-uwsgi-temp-path=/var/lib/nginx/uwsgi \
--http-scgi-temp-path=/var/lib/nginx/scgi \
--with-http_ssl_module --with-http_stub_status_module \
--with-debug

make
checkinstall
dpkg -i nginx_1.0.4-1_i386.deb
Configuration
- rTorrent
After a successful rtorrent installation, it needs to be configured. The configuration file is located in the user's home directory. Example file:.rtorrent.rc. We're particularly interested in the line: scgi_port = 127.0.0.1:5000; if we don't have it, we add it. After starting rtorrent we should see:
(17:40:43) Using 'epoll' based polling.
(17:40:43) XMLRPC initialized with 519 functions.
(17:40:43) The SCGI socket is bound to a specific network device yet may still pose a security risk, consider using 'scgi_local'.
We copy the contents of the unpacked rutorrent-3.2 directory to, e.g., the /var/www/rtg directory:
# mkdir /var/www/rtg
# cd rutorrent-3.2
# cp * /var/www/rtg
# chown -R www-data:www-data /var/www/rtg
$scgi_port = 5000;
$scgi_host = "127.0.0.1";
For rutorrent to work we need to have nginx configured with php support. If we don't have this configuration yet, you can take a look here:nginx + php part I and nginx + php part II or other tutorials. In this configuration, I'm assuming our WebUI interface will be available under the virtual host: rtg, and the directory our web server has access to: /var/www/. The connection will be encrypted, with password-protected access.
server {
            listen  80;
            server_name  rtg.our_domain.com;

            if ($host = 'rtg.our_domain.com' ) {
                rewrite ^/(.*)$ https://rtg.our_domain.com/$1 permanent;
            }

            access_log  /var/log/nginx/rtg.our_domain.com.access.log;
            error_log  /var/log/nginx/rtg.our_domain.com.error.log;
        }

server{
            listen 443;
            ssl on;
            server_name rtg.our_domain.com;
            ssl_certificate /etc/nginx/ssl/rtg.our_domain.com/ssl.crt;
            ssl_certificate_key /etc/nginx/ssl/rtg.our_domain.com/ssl.key;
            access_log /var/log/nginx/rtg.our_domain.com.access_log;
            error_log /var/log/nginx/rtg.our_domain.com.error_log;


            location /RPC2 {
                include scgi_params;
                scgi_pass localhost:5000;
            }


                location  / {
                    satisfy  any;                               # this option allows access without a password for computers declared in the allow directive
                    root   /var/www/rtg;
                    allow ip.ip.ip.ip;
                    deny all;
                    auth_basic "Restricted";
                    auth_basic_user_file /etc/nginx/.htpasswd;


            }


            location ~ \.php$ {

                fastcgi_pass   127.0.0.1:9000;
                fastcgi_param  SCRIPT_FILENAME /var/www/rtg$fastcgi_script_name;
                include fastcgi_params;
            }

        }
All that's left is to start rtorrent and go to http://rtg.our_domain in the browser. This description isn't fully complete - it's missing, among other things, the full rtorrent configuration or generating certificates for nginx, but fortunately there are many tutorials covering those topics.